Agent-based scanning
Agent-based scanning works by installing a lightweight software agent onto each device that you want to monitor, such as laptops, desktops, or servers.
Agent-based scanning provides accurate and detailed results, even on systems behind firewalls or not directly reachable over the network.
Installing the Nessus Agent
HostedScan offers powerful agent-based scanning via the Tenable Nessus Agent. The agent is installed on each device and reports security findings to your HostedScan dashboard and reports.
The Tenable Nessus Agent is included on the Professional plan.
To get started, navigate to the Internal Networks page in your HostedScan dashboard.
Click on the "Install Nessus Agent" button.

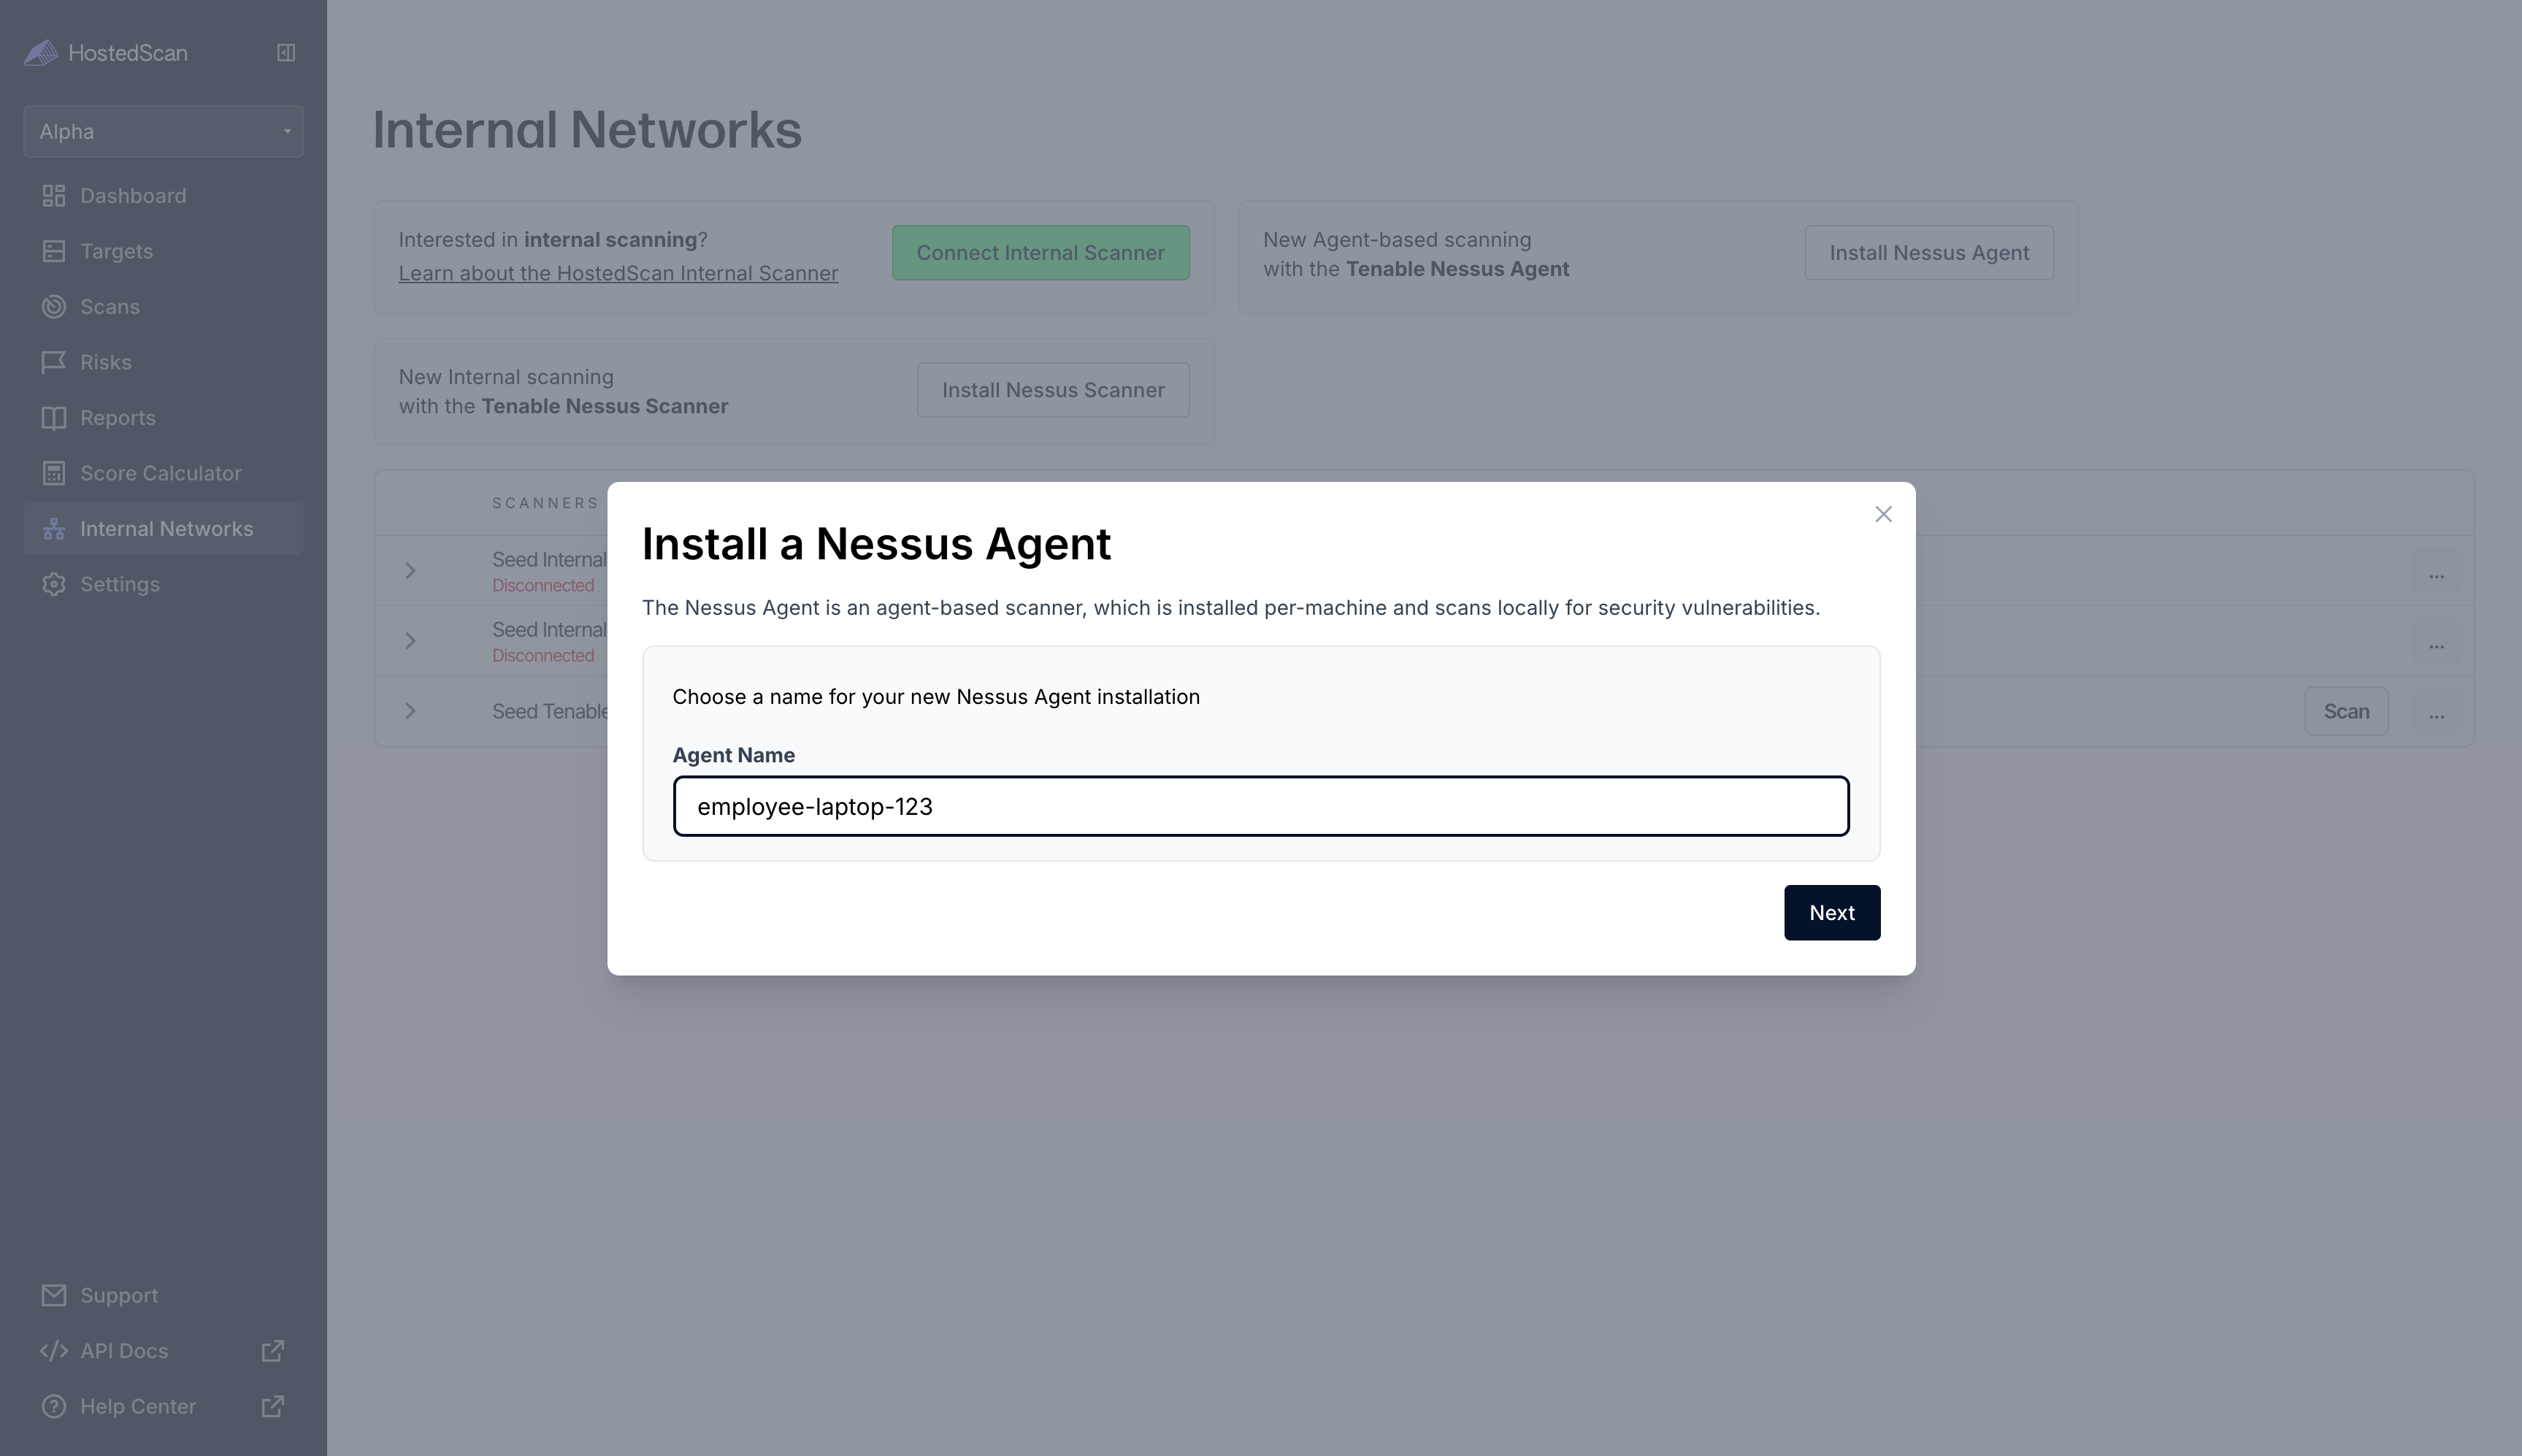
Enter a name for your agent and click Next.
Copy and run the installation command for your OS. On Linux and Windows, the command downloads, installs, and links the agent in one step. On macOS, install the agent first by following Tenable's macOS install instructions (linked in the dialog), then run the provided link command in the Terminal.
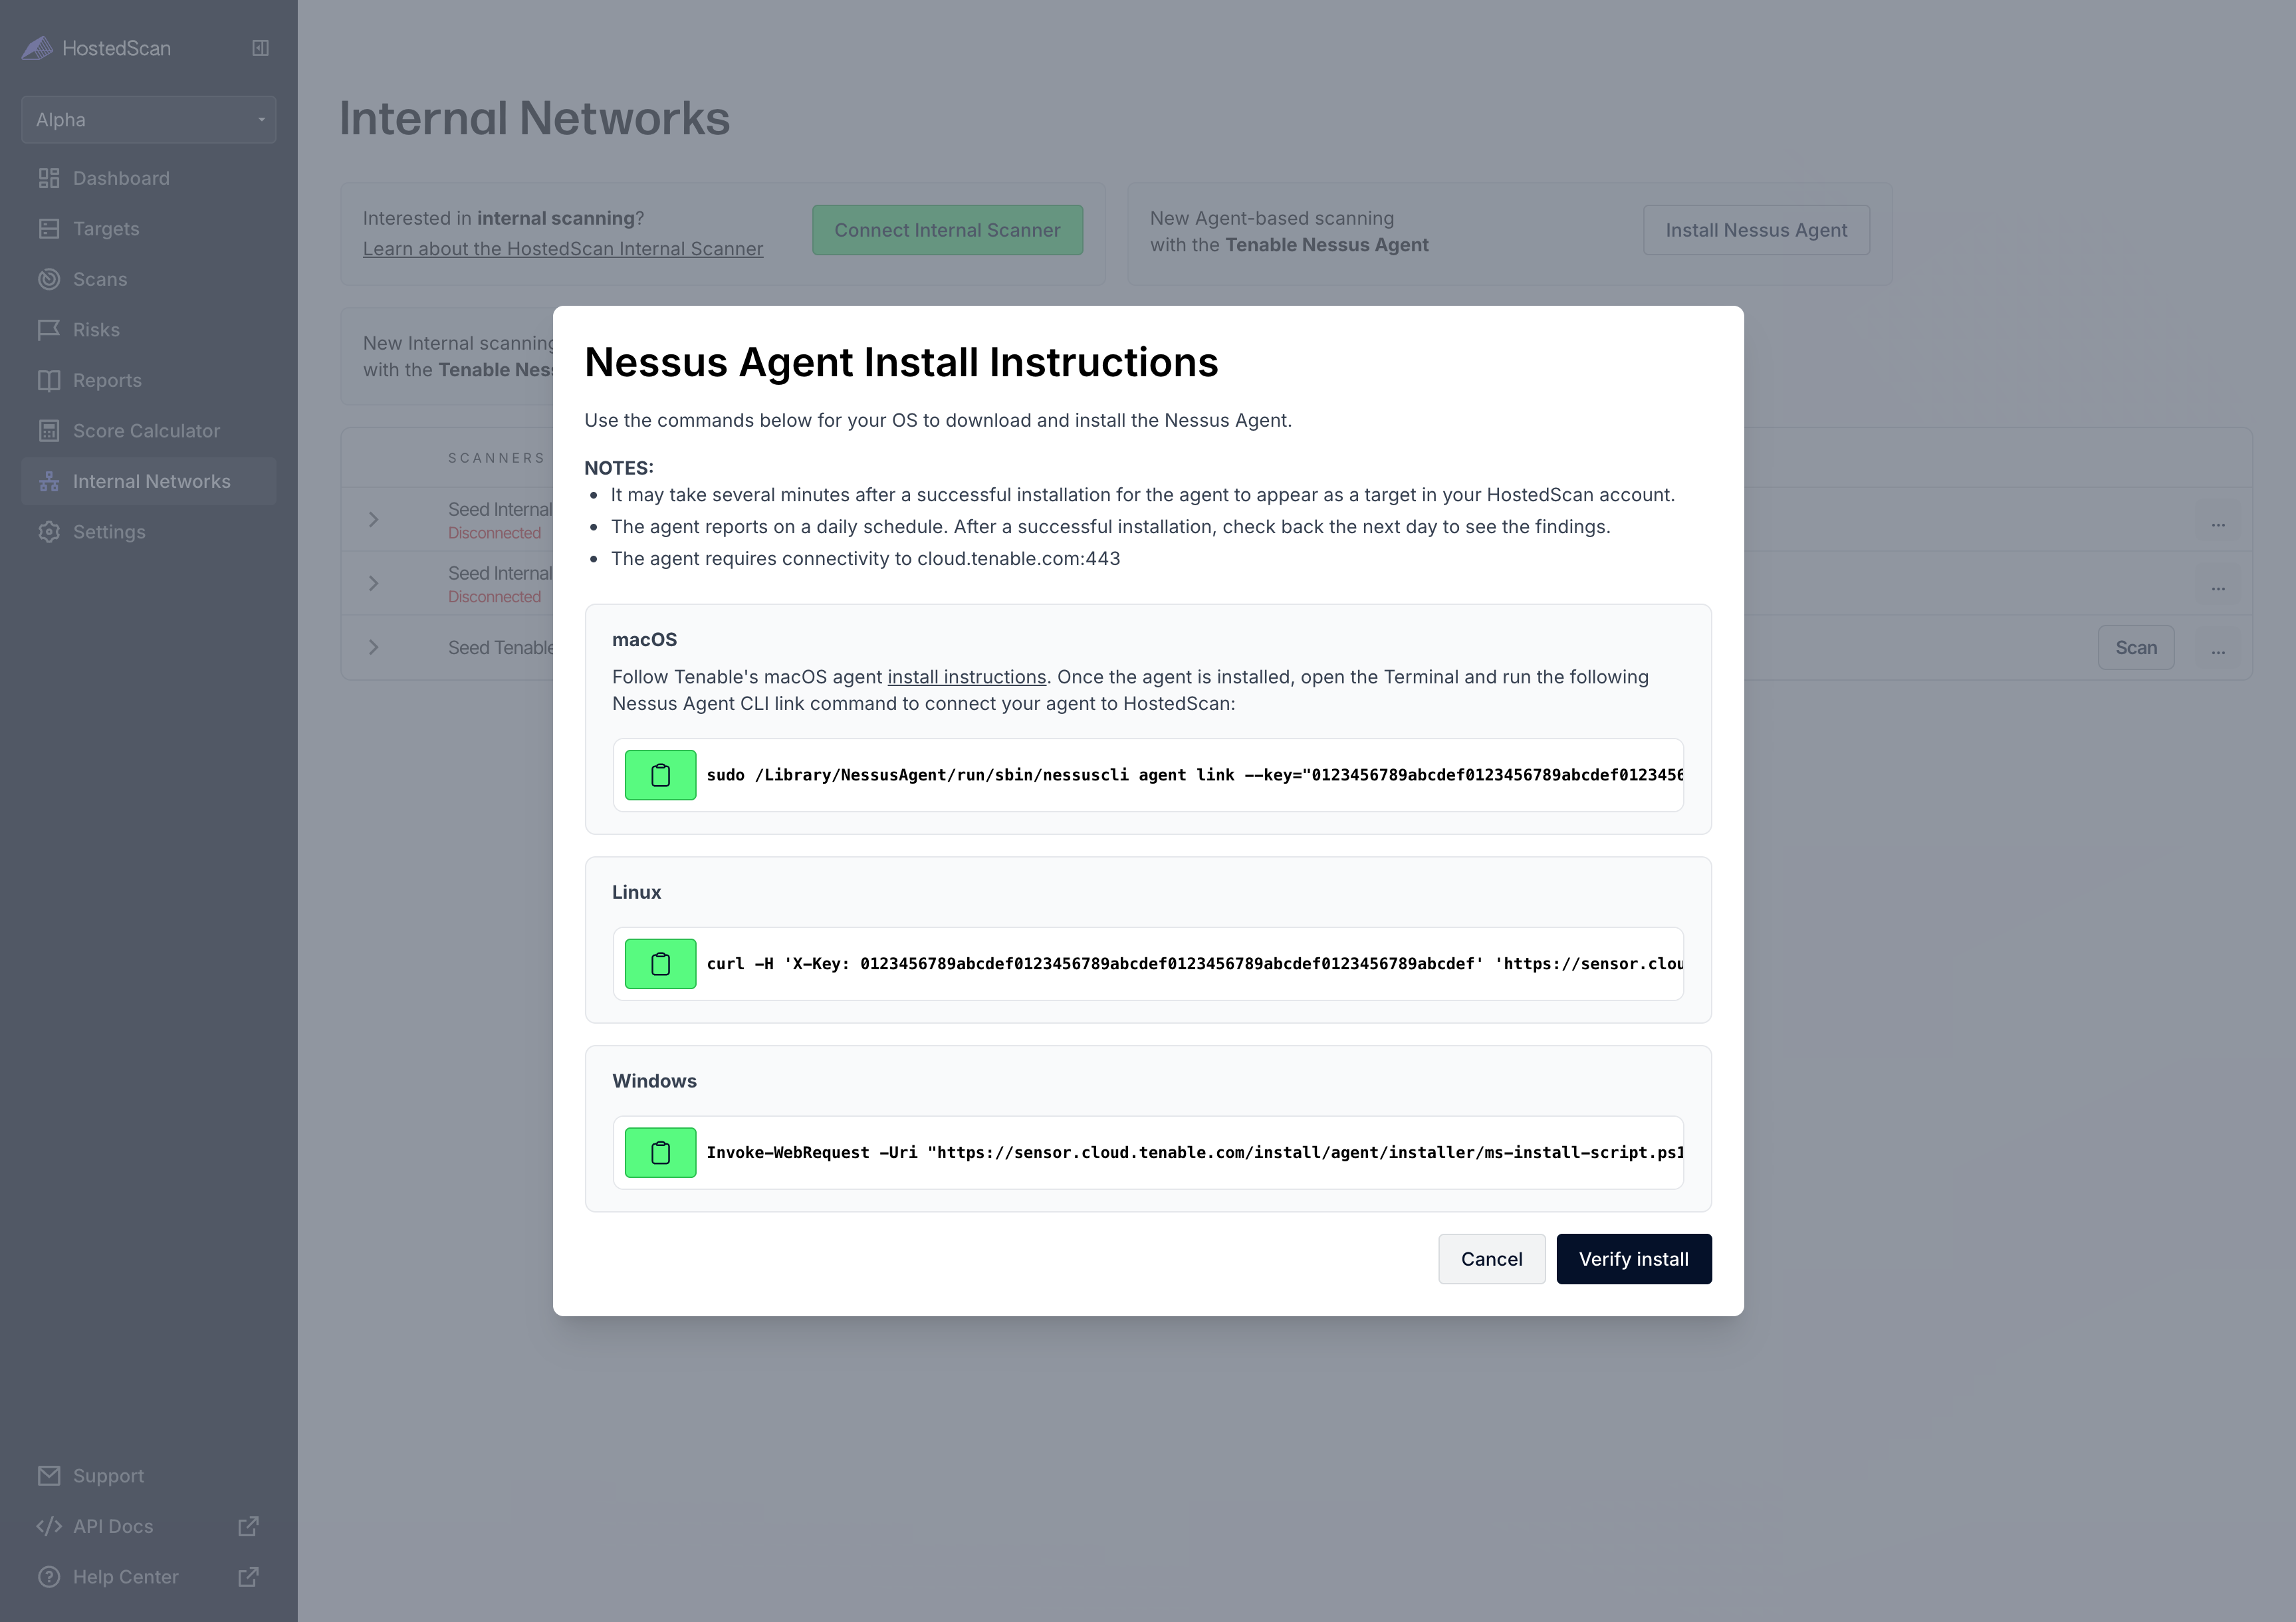
The agent requires outbound connectivity to sensor.cloud.tenable.com and cloud.tenable.com on port 443 — the install and link commands download from and register with sensor.cloud.tenable.com.
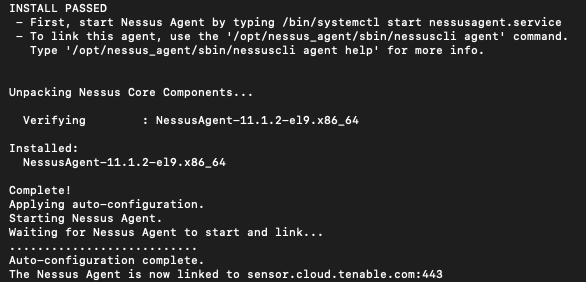
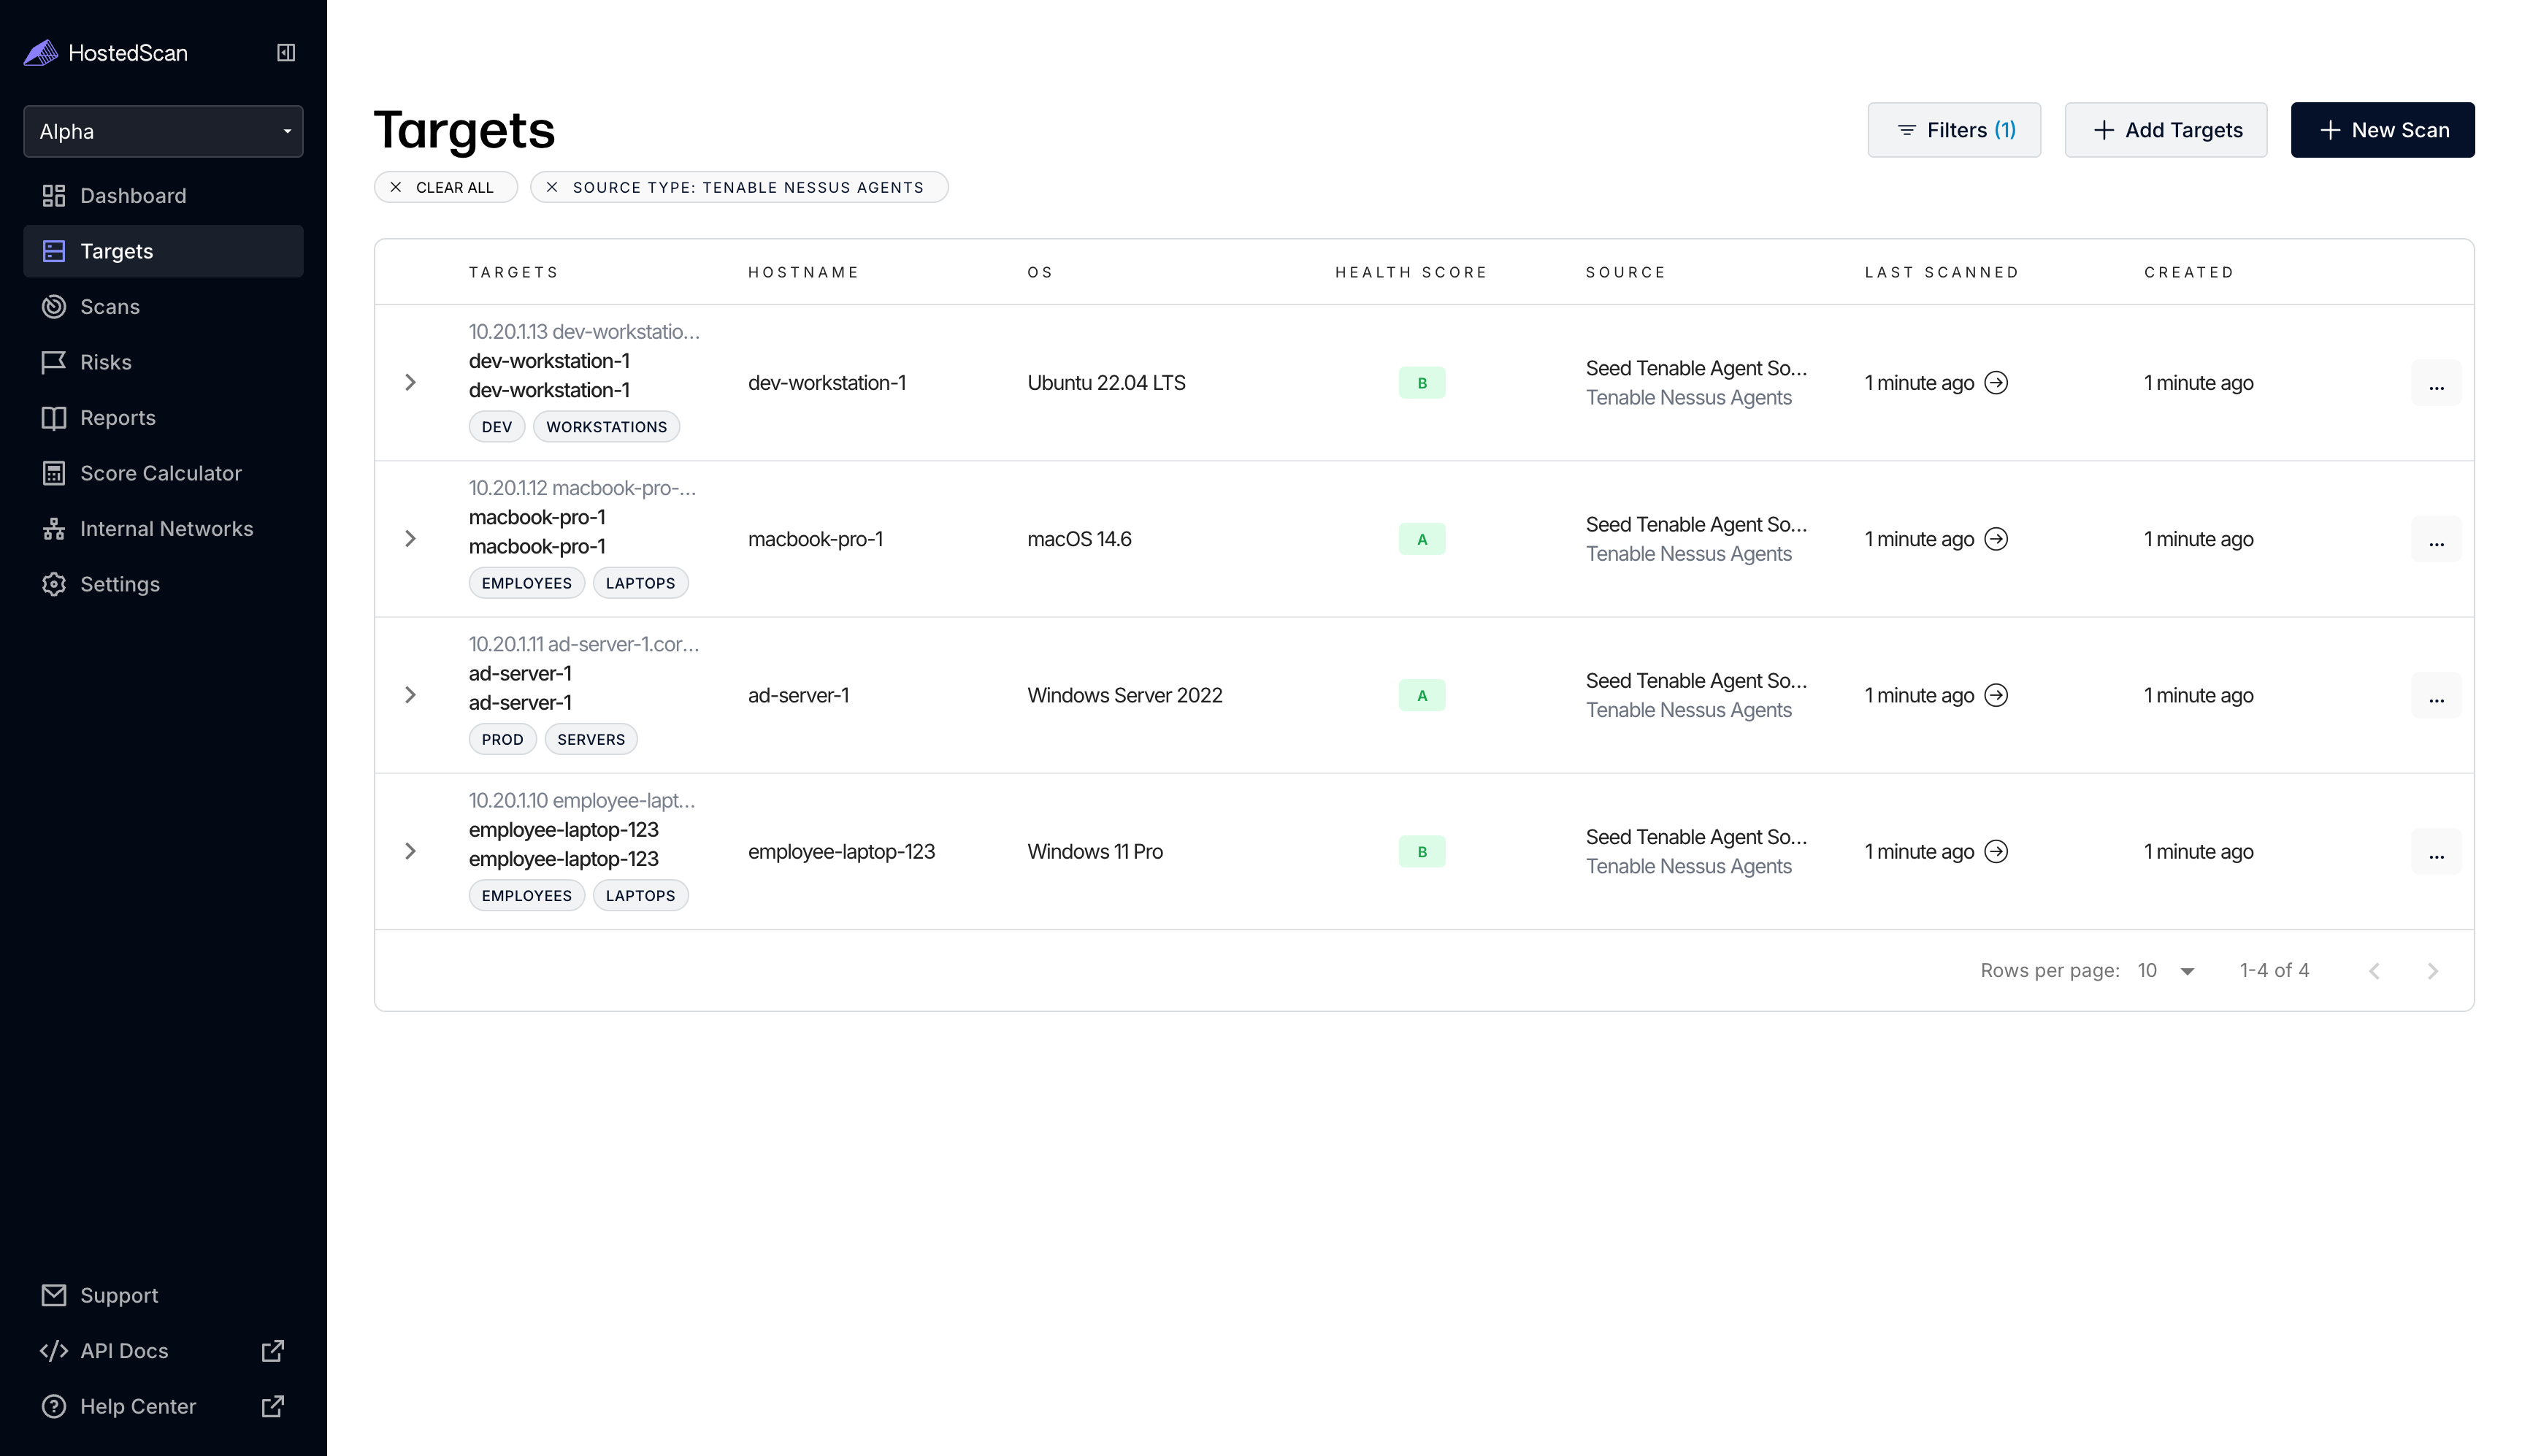
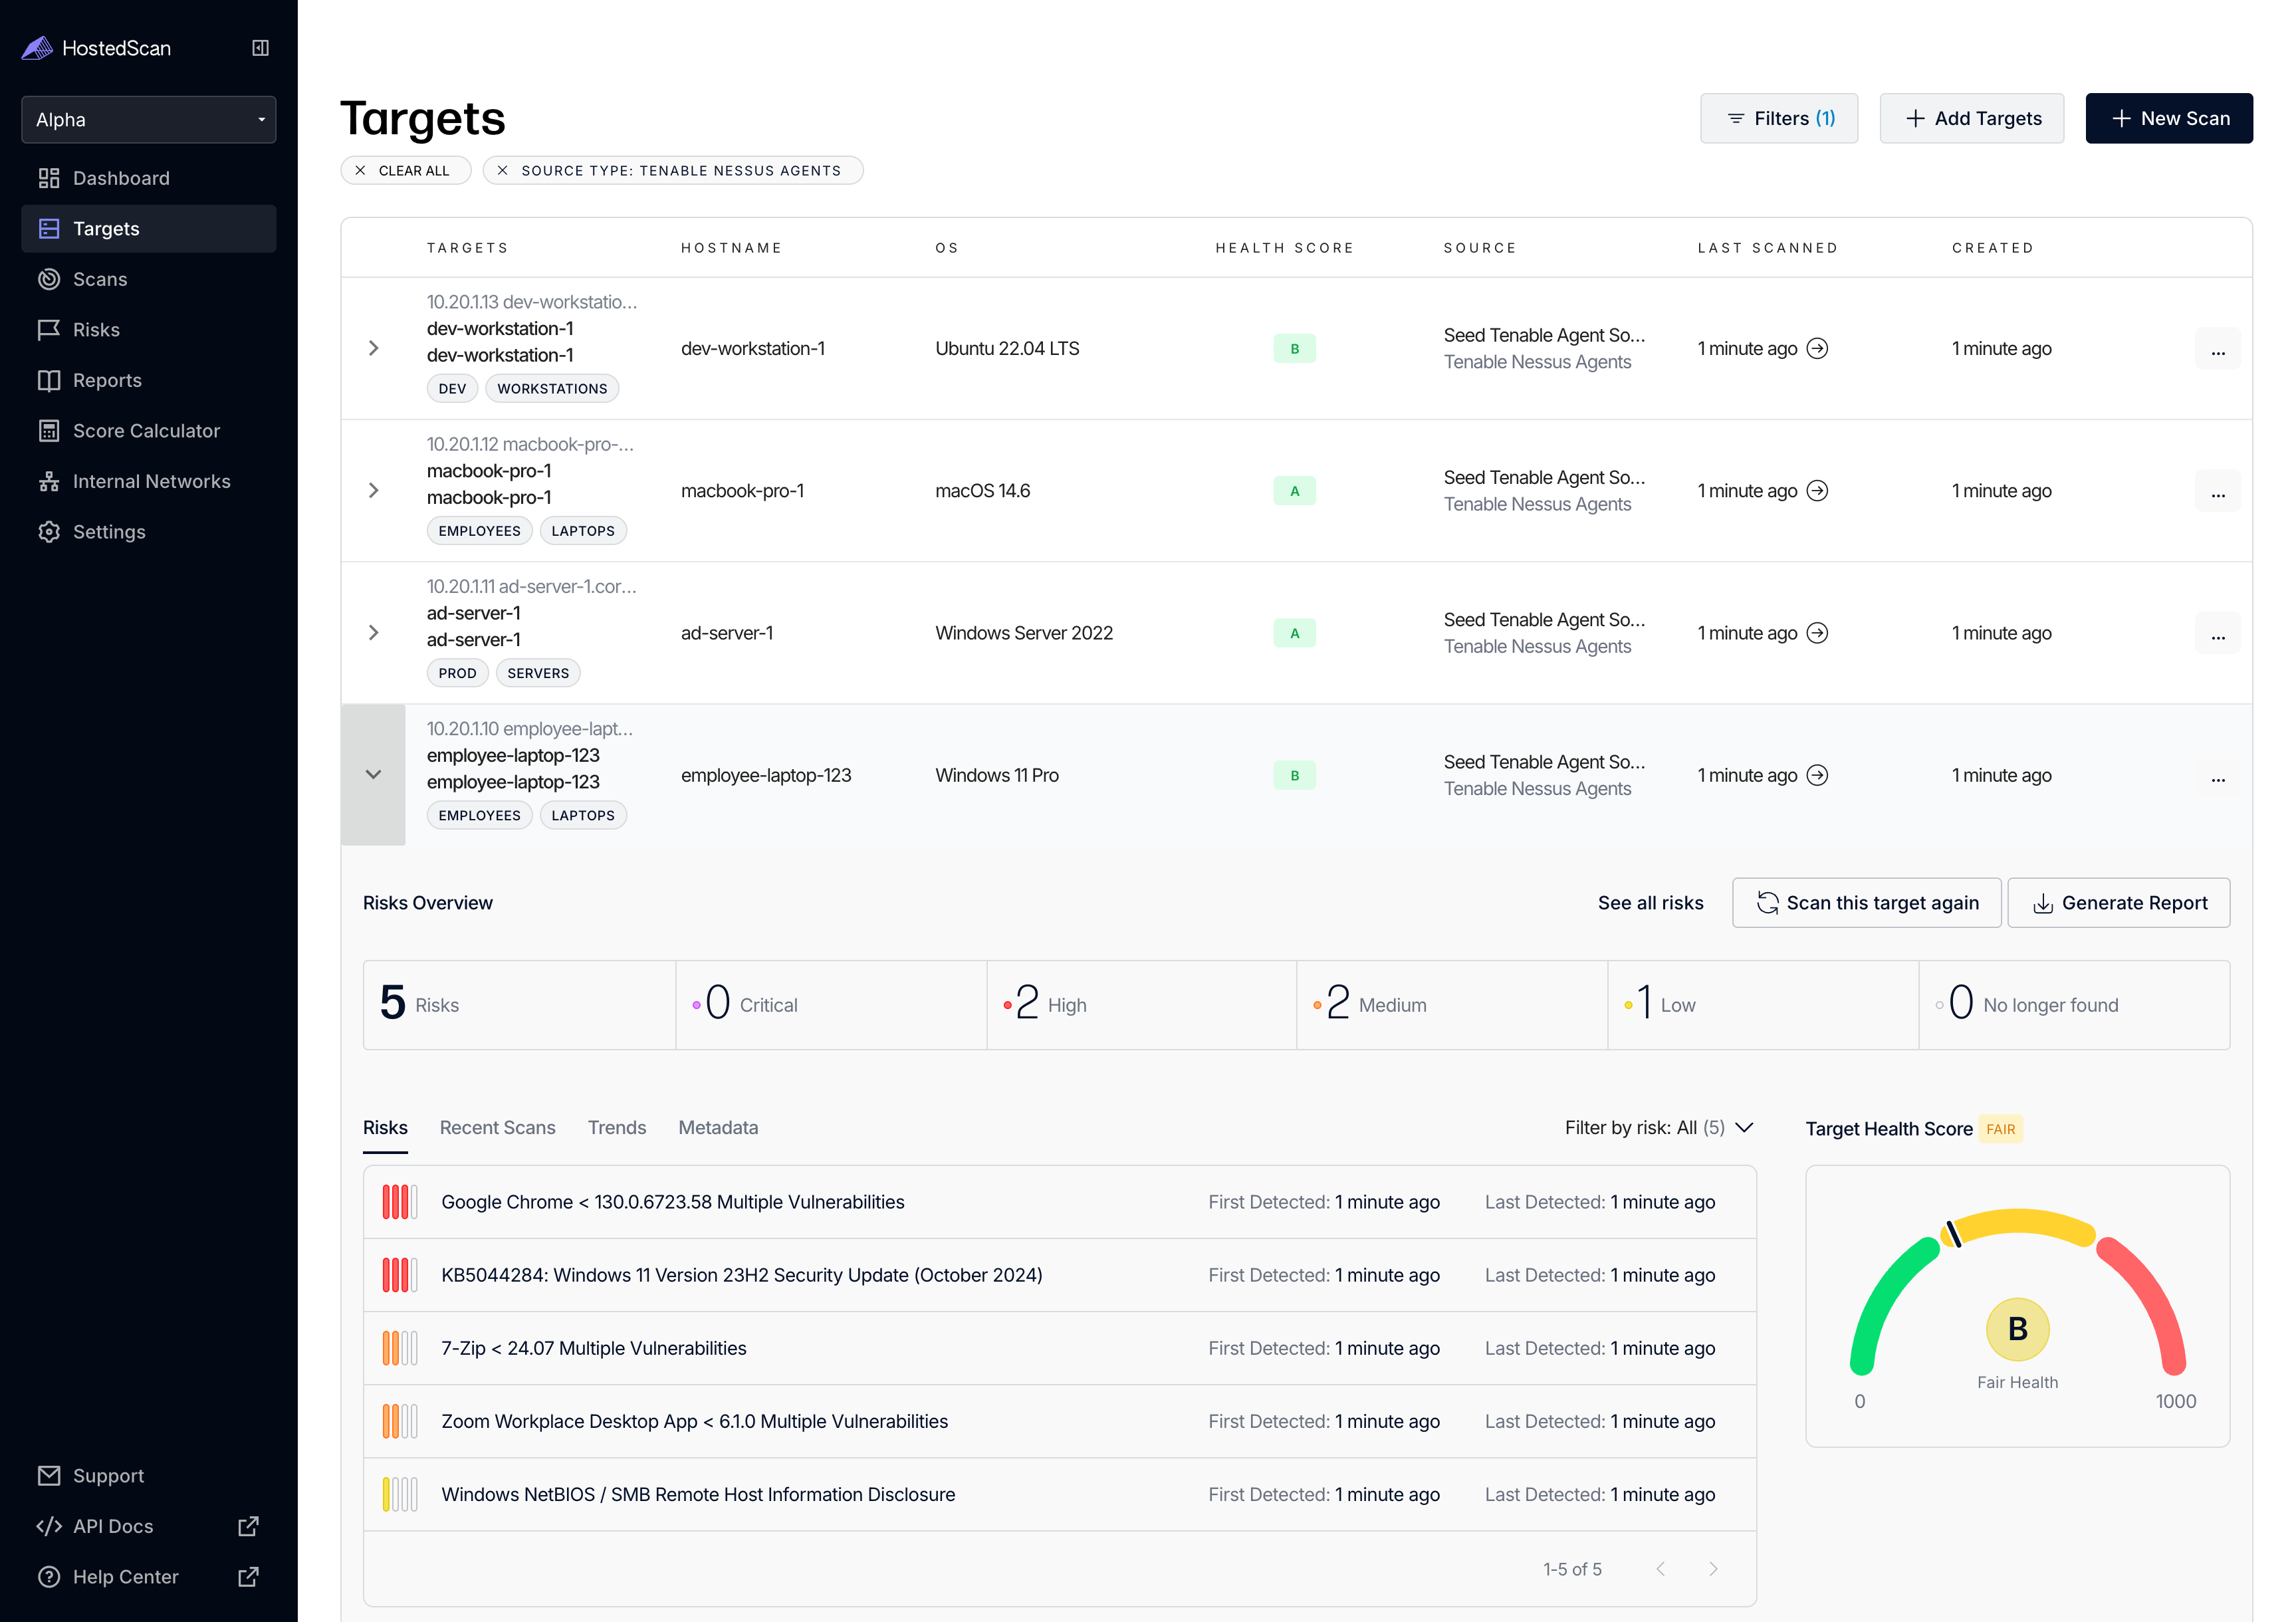
After a successful installation, the agent will appear as a Target in your HostedScan account. This may take several minutes. Click Verify install in the dialog to check that the agent has connected — once it is found, HostedScan queues the agent's first scan automatically.
Security Findings
The Nessus Agent scans and reports security vulnerability findings on a daily schedule. After installation, take a break and check back later to see the security findings from the agent.
Need Help?
If you encounter issues with Nessus Agent installation or agent-based scanning, Contact support at hello@hostedscan.com for assistance.